2.1 Workflow
To perform GWAS, GS, and GWAS-assisted GS in iPat, following six steps are demonstrated for users to follow:
Create a new module
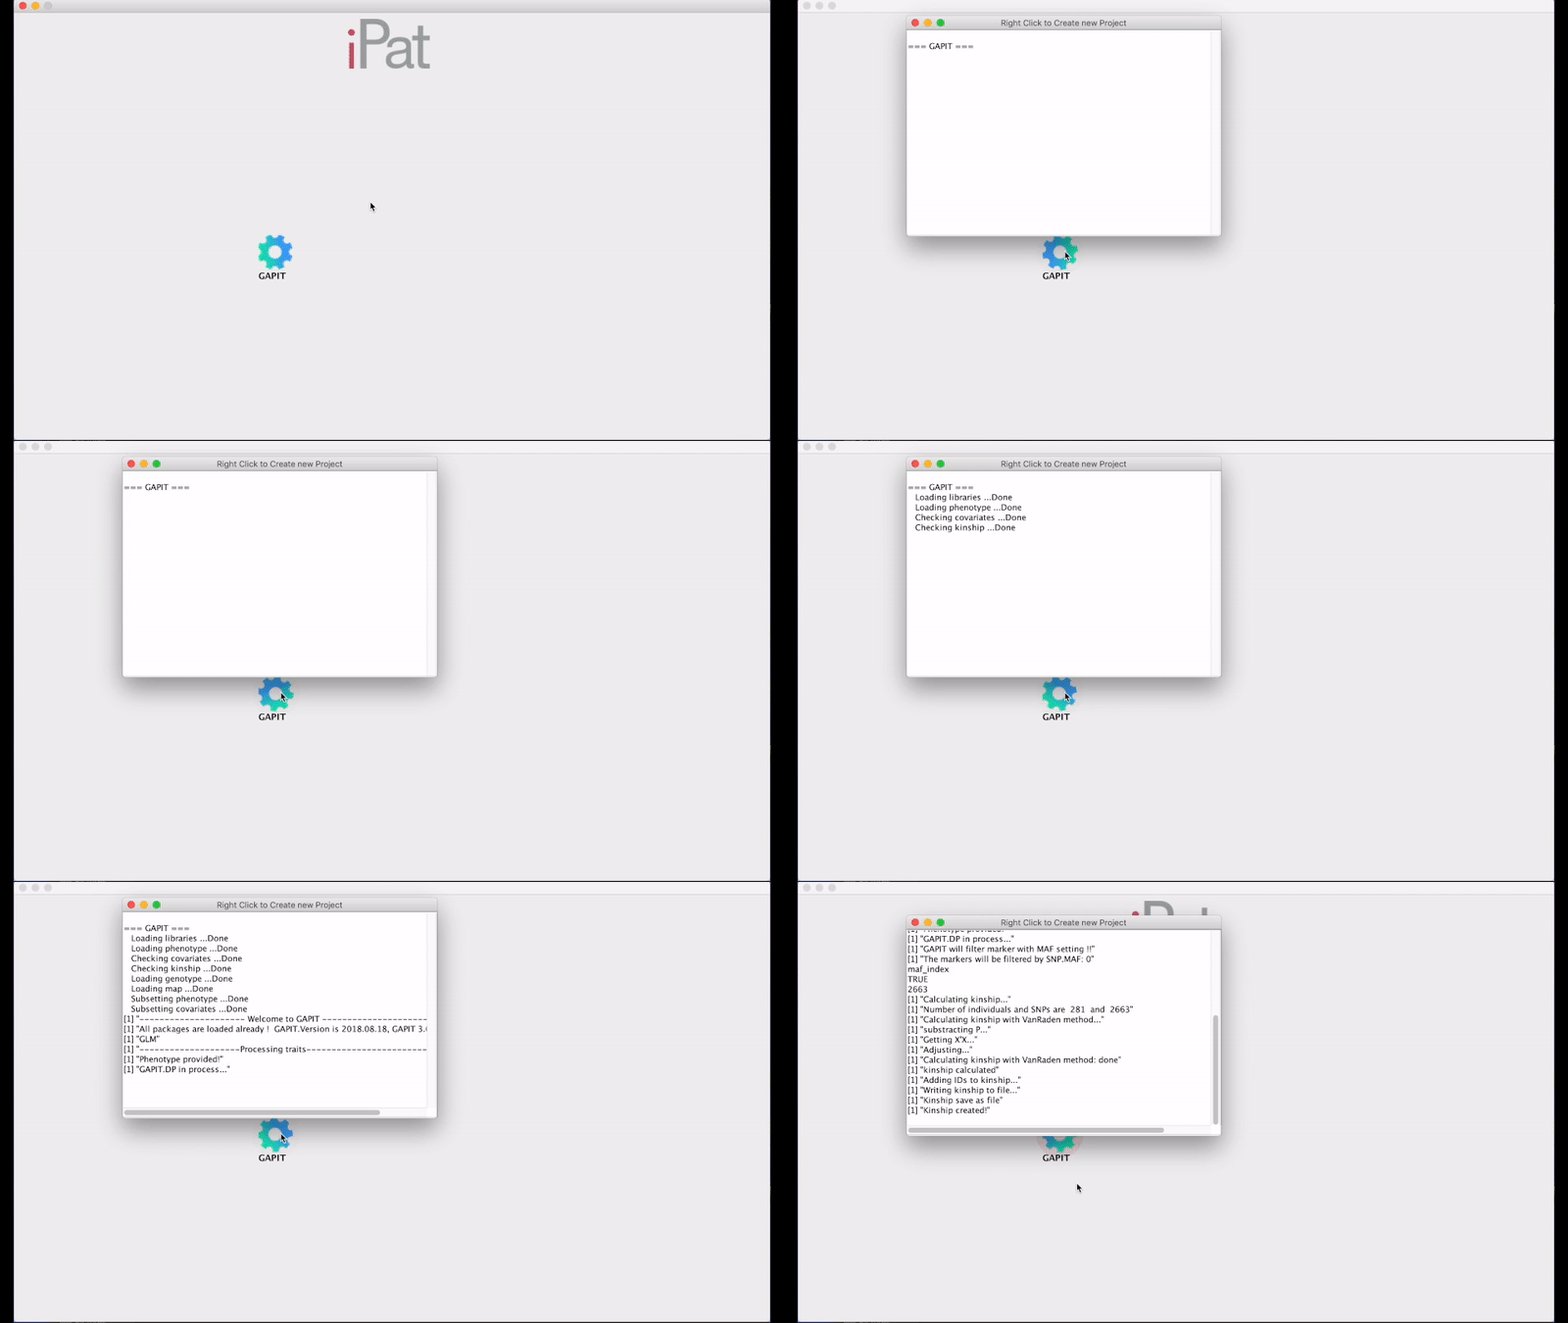
Every single analysis is defined by a ‘module’, which can be created by double-click anywhere in the screen and opened by right-click on a gear-shaped icon which is newly created. It’s noted that there will always be an automatically created module at the very beginning when users launch iPat, so users only need to right-click on the gear-shaped icon to start their first analysis.

Fig. Right click to open a module
Import files
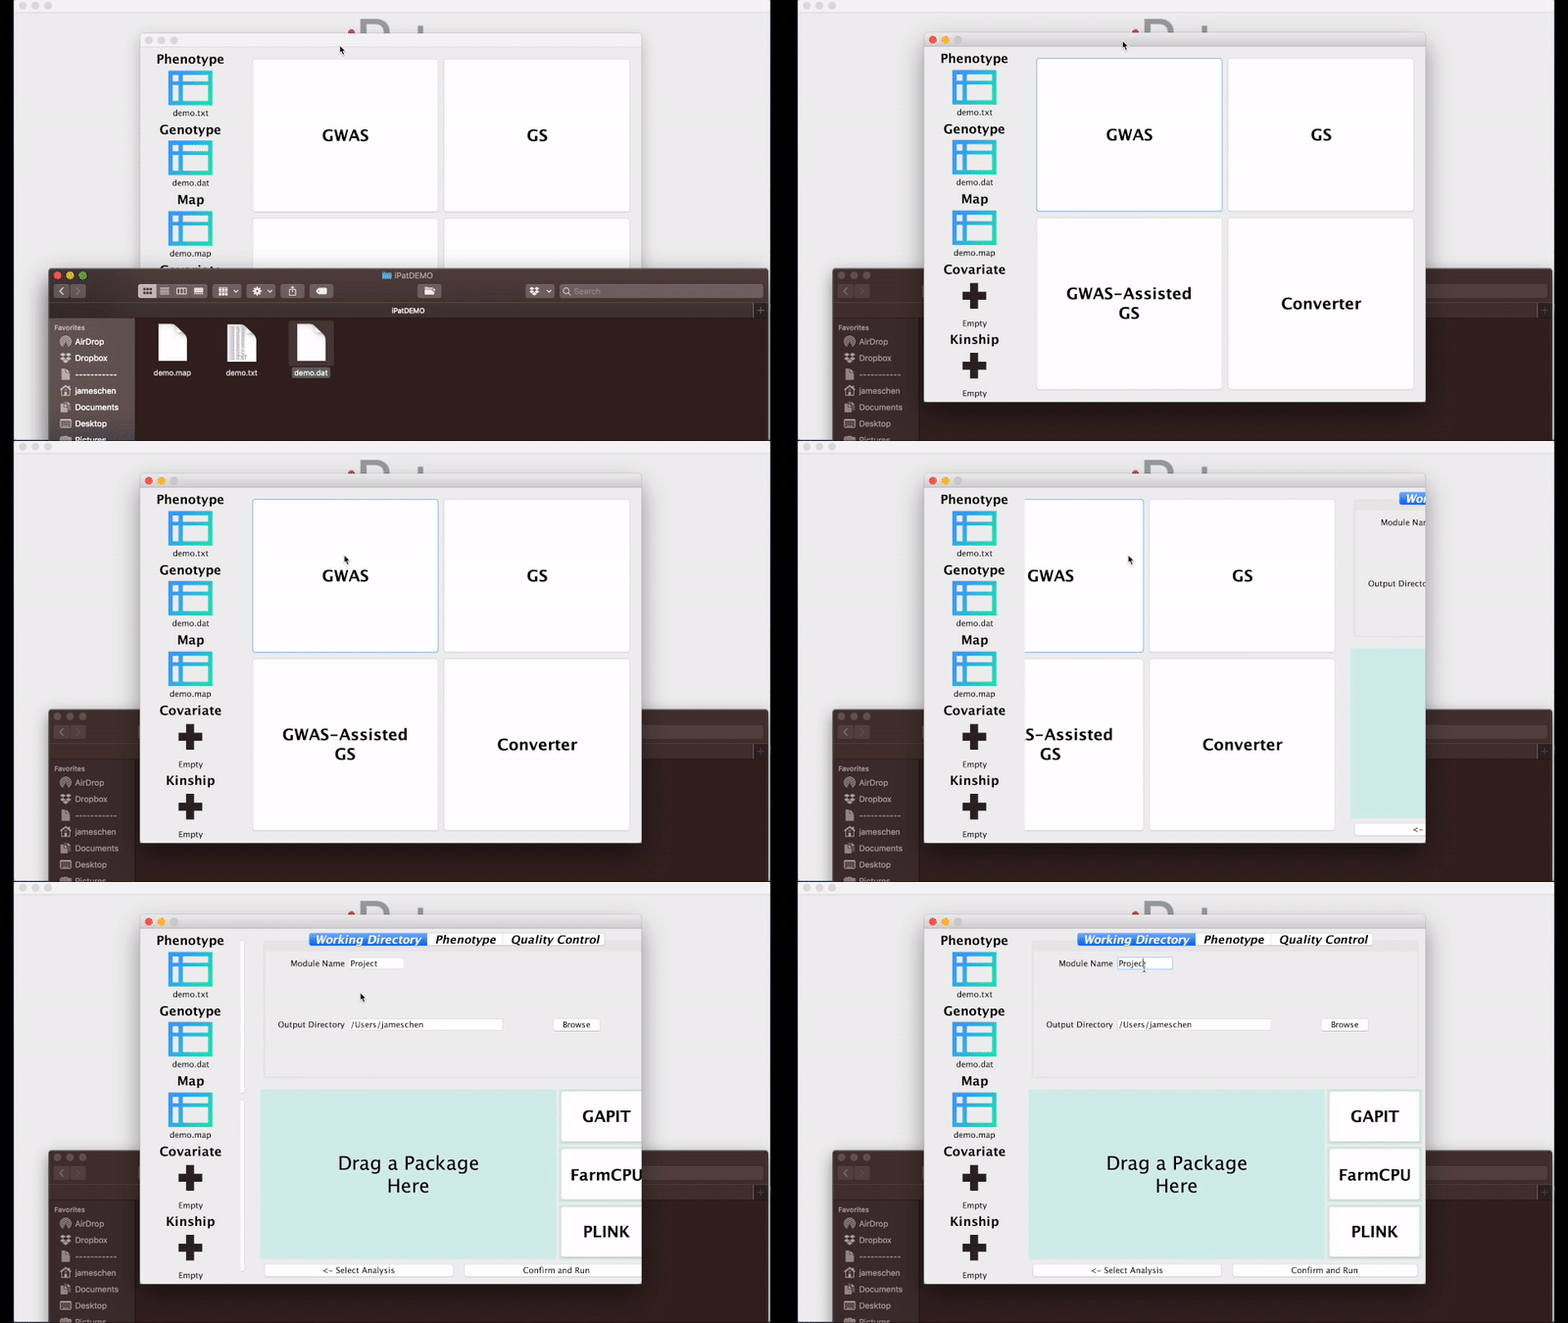
Users can drag-and-drop their files to import them into iPat. Each filetype has its own slot, and each analysis have slightly different requirements for the imported files. Please follow the instruction in section 2.3, 2.4, 2.5 to learn for further information.

Fig. Drag-and-drop files to import
Choose an analysis
Currently there’re four analyses available in iPat. Once users done importing all the required files, they can click a desired analysis to enter the next panel for further configuration.

Fig. Choose an analysis for further configuration
Config and run
Usually there’re two parts in this panel. In the upper part, users can specify the working directory, which phenotype to be analyzed, and quality controls on genetic markers. This panel can be globally defined regardless chosen analysis (section -2.2). Whereas the sub-panel in the bottom part is tool-specific, this area allows users to define the chosen tool in details. Please read section 2.3, 2.4, 2.5 for further information. The analysis will be launched when ‘run’ button in the right-corner is clicked.

Fig. Detailed configuration for the analysis
Monitor progress
Users can hover the pointer on the running module to monitor its progress, or to click on the module to lock the progress window, which can prevent it from disappearing when the pointer is no longer hovered on the module.

Fig. Hover the pointer to monitor the progress
Inspect results
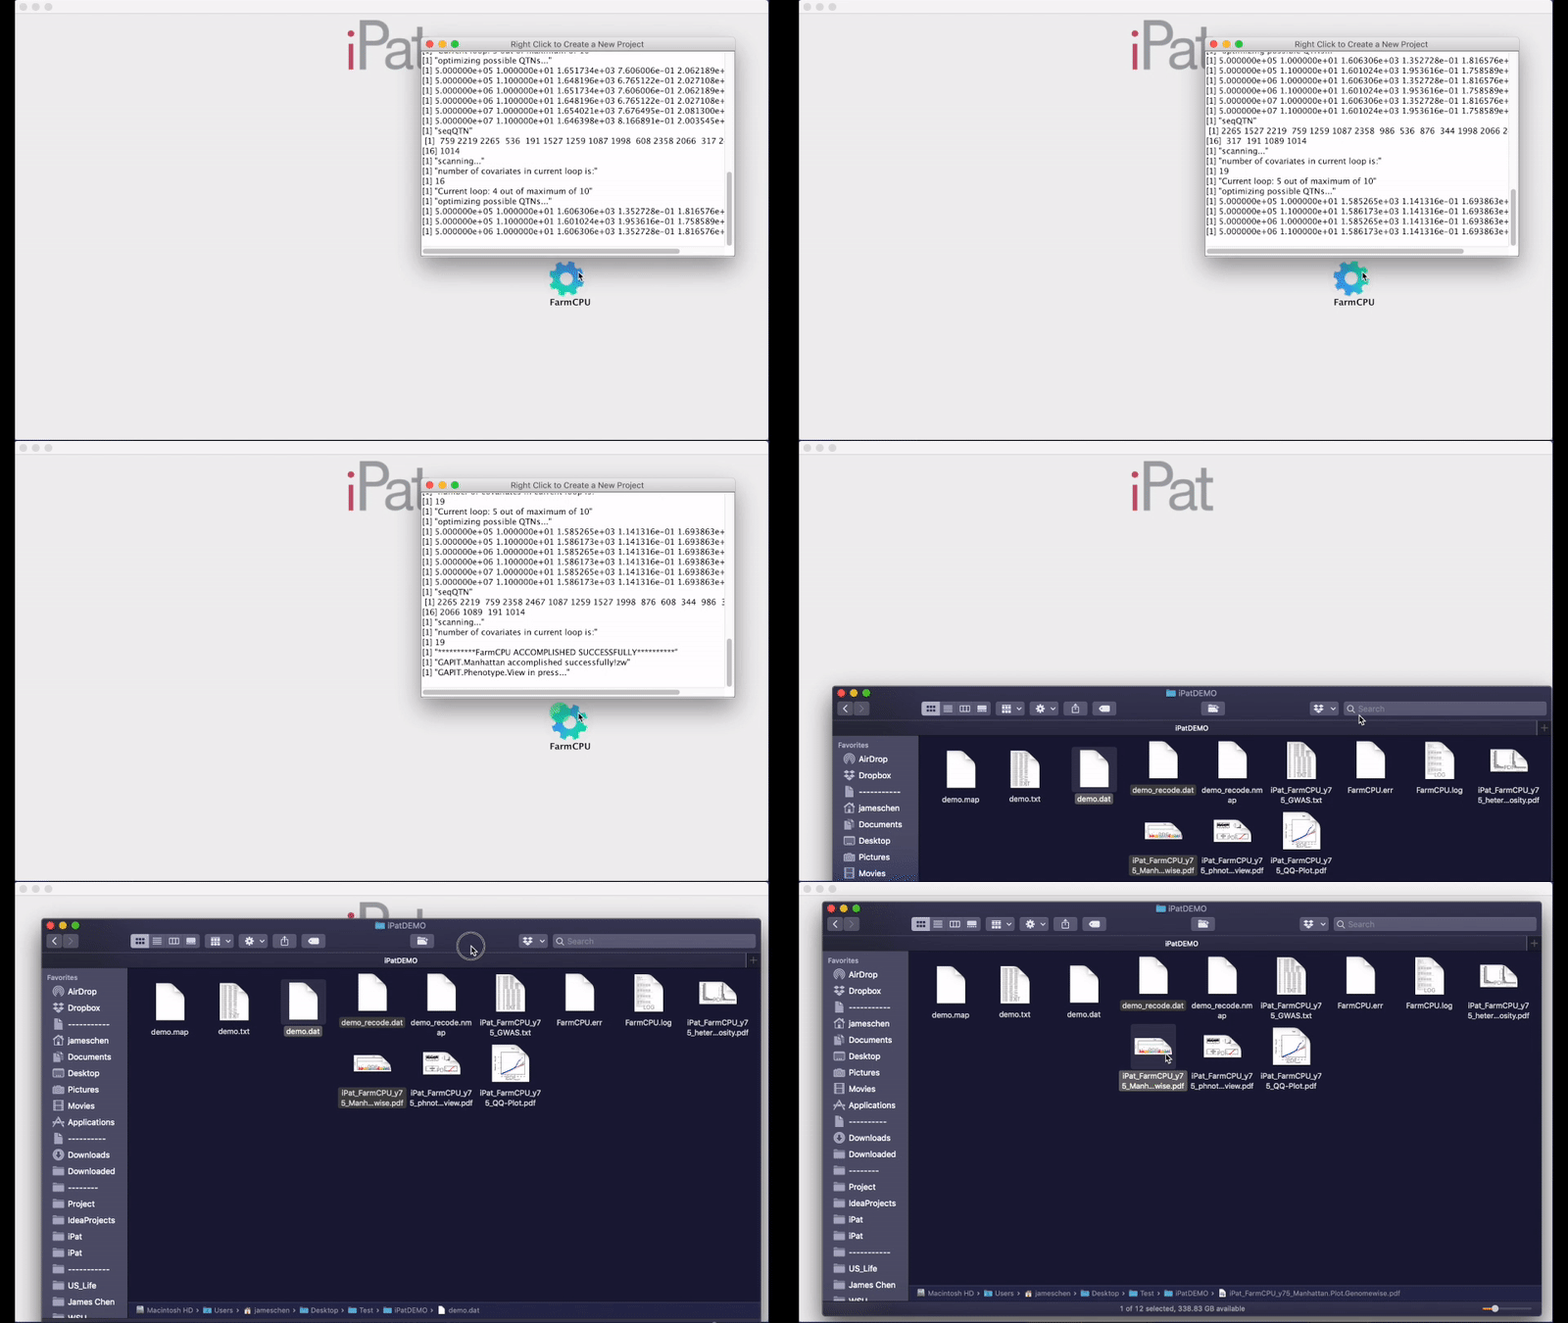
Once the analysis is done, a green dot will present at the upper-left corner of the module. Users can open the working directory and find all the output files by double-clicking on the module.

Fig. Double click to open the working directory