Define AOI
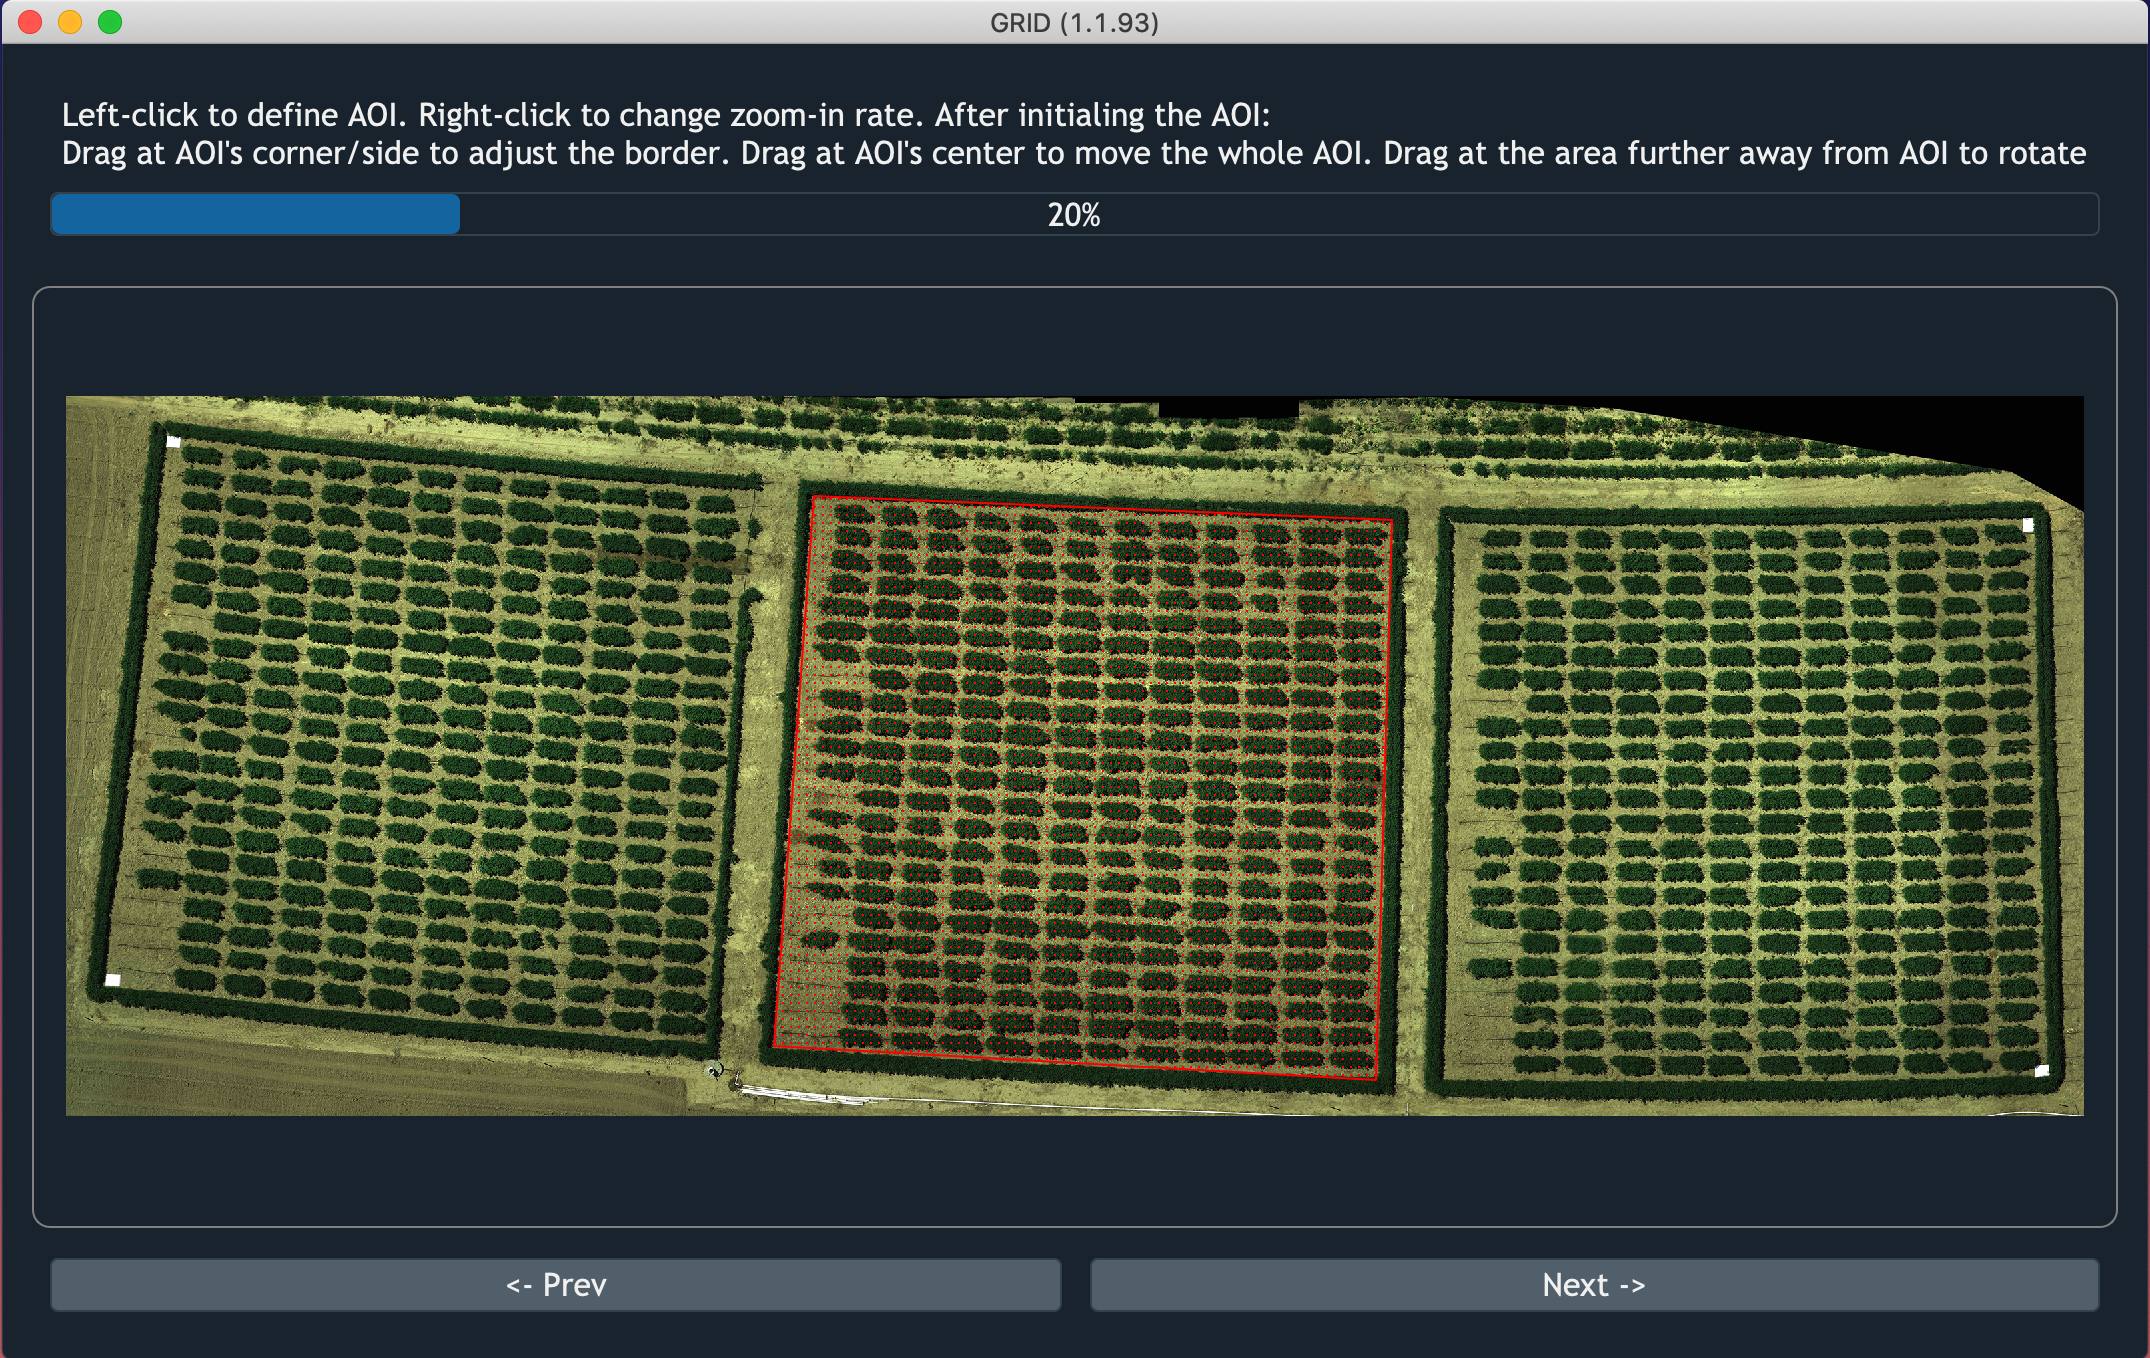
Screenshot of GRID defining AOI
Often time the provided orthoimages contain areas you don’t need. In this step, you can define an area of interest (AOI) to exclude the redundant parts.
Draw AOI
To draw AOI, left-click on the image four times to assign four corners of the AOI rectangle. The red shaded region will be AOI used in the analysis.
Adjust AOI
- Move the entire AOI
Drag from the central area to move the AOI. The cursor should become a “move” icon.
- Move one corner of the AOI
Left-click near the corner and drag it to adjust its position. The cursor should become a magnifying glass to help increasing the precision.
- Move one side of the AOI
Left-click near the AOI edge and drag it to adjust its position. The cursor should become a magnifying glass to help increasing the precision.
- Rotate the AOI
Left-click and drag at the surrounding area of the AOI to rotate. The cursor should become a “rotation” icon indicating the AOI can be rotated.
- Create a new AOI
When move the cursor far away from the exisitng AOI, the cursor should become a magnifying glass again. It indicates that users can assign new set of coorindates to create a new AOI.